Headless WordPress: How to Set Up a Decoupled Architecture with Next.js
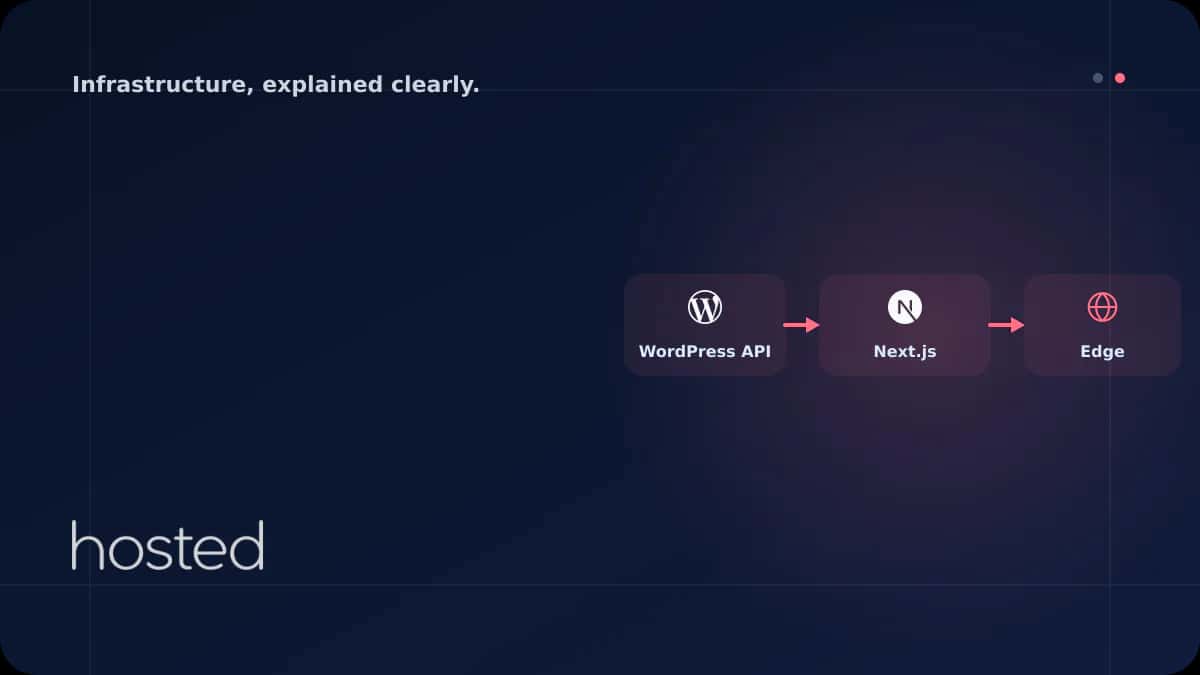
Traditional WordPress handles both content management and frontend rendering in a single monolith. In a headless architecture, WordPress serves only as a backend CMS while a modern framework like Next.js takes over the frontend. The result: faster page loads, better developer experience, and unlimit
Can Kaya
Security Specialist
Traditional WordPress handles both content management and frontend rendering in a single monolith. In a headless architecture, WordPress serves only as a backend CMS while a modern framework like Next.js takes over the frontend. The result: faster page loads, better developer experience, and unlimited frontend flexibility. This guide walks you through configuring WordPress as a headless CMS, fetching data with WPGraphQL, and building a production-ready Next.js frontend.
What Is Headless WordPress?
Headless WordPress disables the theme layer (frontend) and serves content exclusively through REST API or GraphQL. Content editors continue using the familiar WordPress admin panel, but the pages visitors see are rendered by a separate frontend application rather than WordPress itself.
| Feature | Traditional WordPress | Headless WordPress |
|---|---|---|
| Frontend | PHP theme (Blade/Twig) | Next.js / Nuxt / Astro |
| Page Loading | PHP render on every request | SSG/ISR with static + CDN |
| Performance | Cache-dependent | Fast by default |
| Security | Theme/plugin attack surface | API-only, minimal attack surface |
| Developer Experience | PHP + jQuery | React/Vue + TypeScript |
💡 Tip: Headless WordPress is not suitable for every project. Simple blogs or corporate sites work fine with traditional WordPress. Headless architecture is ideal for projects with custom UI requirements, multi-platform support needs (web + mobile), or high performance targets.
Data Layer with WPGraphQL
WordPress ships with a built-in REST API, but GraphQL is more efficient for frontend development. The WPGraphQL plugin exposes your WordPress data through a GraphQL endpoint. A single query can fetch posts, authors, categories, and featured images together - something that requires 3-4 separate requests with REST API.
query GetPosts {
  posts(first: 10, where: { status: PUBLISH }) {
    nodes {
      id
      title
      slug
      excerpt
      date
      featuredImage {
        node {
          sourceUrl
          altText
        }
      }
      author {
        node {
          name
          avatar { url }
        }
      }
      categories {
        nodes { name slug }
      }
    }
  }
}
Installing and Configuring WPGraphQL
Install WPGraphQL from the WordPress admin panel via Plugins > Add New. Alternatively, use Composer:
# Install WPGraphQL via Composer
composer require wp-graphql/wp-graphql

# Test the GraphQL endpoint
curl -X POST https://cms.example.com/graphql \
  -H "Content-Type: application/json" \
  -d '{"query": "{ generalSettings { title } }"}'
After installation, the https://yoursite.com/graphql endpoint becomes active. Enable the GraphiQL IDE from WordPress admin under GraphQL > Settings to test queries in the browser. For security, disable introspection in production environments.
Setting Up the Next.js Frontend
Next.js is the most popular frontend framework for headless WordPress. With SSG (Static Site Generation), ISR (Incremental Static Regeneration), and SSR (Server-Side Rendering) support, it delivers a powerful combination of performance and SEO. Let's create the project and connect it to WordPress.
# Create a Next.js project
npx create-next-app@latest headless-wp --typescript --app

# Install GraphQL client
npm install graphql-request graphql
Create a client module to connect to the WordPress GraphQL endpoint:
import { GraphQLClient, gql } from 'graphql-request';

const client = new GraphQLClient(
  process.env.WORDPRESS_GRAPHQL_ENDPOINT!
);

export async function getAllPosts() {
  const query = gql`
    query AllPosts {
      posts(first: 20, where: { status: PUBLISH }) {
        nodes {
          slug
          title
          excerpt
          date
          featuredImage {
            node { sourceUrl altText }
          }
        }
      }
    }
  `;
  const data = await client.request(query);
  return data.posts.nodes;
}

export async function getPostBySlug(slug: string) {
  const query = gql`
    query PostBySlug($slug: ID!) {
      post(id: $slug, idType: SLUG) {
        title
        content
        date
        author { node { name } }
        categories { nodes { name slug } }
        seo { title metaDesc }
      }
    }
  `;
  const data = await client.request(query, { slug });
  return data.post;
}
Blog Listing and Detail Pages
Create the blog listing page using Next.js App Router. The generateStaticParams function fetches all post slugs at build time and generates static pages:
import { getAllPosts, getPostBySlug } from '@/lib/wordpress';

export async function generateStaticParams() {
  const posts = await getAllPosts();
  return posts.map((post) => ({ slug: post.slug }));
}

export default async function BlogPost({ params }) {
  const post = await getPostBySlug(params.slug);

  return (
    <article>
      <h1>{post.title}</h1>
      <div dangerouslySetInnerHTML={{ __html: post.content }} />
    </article>
  );
}
Performance Strategy with ISR and SSG
The biggest advantage of headless WordPress is the ability to generate pages as static HTML at build time. However, rebuilding for every content update is impractical for frequently updated sites. ISR (Incremental Static Regeneration) solves this: pages are served statically while being regenerated in the background at specified intervals.
| Strategy | When to Use | Refresh Interval |
|---|---|---|
| SSG (Static) | Rarely changing pages (About, FAQ) | Build time only |
| ISR | Blog posts, product pages | revalidate: 60-3600 sec |
| SSR | User-specific, dynamic content | Every request |
| On-Demand ISR | When content is updated in WordPress | Instant via webhook trigger |
Instant Updates with On-Demand Revalidation
When a post is updated in WordPress, you can send a webhook to Next.js to instantly regenerate the relevant page. This eliminates the ISR waiting period:
import { revalidatePath } from 'next/cache';
import { NextRequest, NextResponse } from 'next/server';

export async function POST(request: NextRequest) {
  const secret = request.headers.get('x-revalidate-secret');

  if (secret !== process.env.REVALIDATE_SECRET) {
    return NextResponse.json({ error: 'Unauthorized' }, { status: 401 });
  }

  const { slug } = await request.json();
  revalidatePath(`/blog/${slug}`);
  revalidatePath('/blog');

  return NextResponse.json({ revalidated: true });
}
💡 Tip: On the WordPress side, you can use the save_post hook to automatically send a POST request to the Next.js revalidation endpoint when a post is saved. The WPGraphQL Smart Cache plugin automates this process.
Deployment and Server Architecture
A headless WordPress architecture involves two separate server components: the WordPress backend (CMS) and the Next.js frontend. You can host these on the same server or on separate servers. The separate server approach provides independent scaling and security isolation.
WordPress Backend
PHP 8.2+, MySQL 8.0, Nginx. WPGraphQL plugin active. Only responds to API requests, no theme rendering. 2 vCPU / 4 GB RAM is sufficient.
Next.js Frontend
Node.js 18+, PM2 process manager. Serves static pages with ISR. Recommended to run behind a CDN. 2 vCPU / 2 GB RAM is sufficient.
We recommend running the Next.js application with PM2 in production. Build and start commands:
module.exports = {
  apps: [{
    name: 'headless-wp',
    script: 'node_modules/.bin/next',
    args: 'start',
    instances: 'max',
    exec_mode: 'cluster',
    env: {
      NODE_ENV: 'production',
      PORT: 3000
    }
  }]
};
Server Sizing Guide
Server requirements for headless WordPress projects vary based on traffic volume and content size. The following table shows recommended configurations for different scales:
| Scale | WordPress Backend | Next.js Frontend | Monthly Traffic |
|---|---|---|---|
| Small | 2 vCPU / 2 GB RAM | 1 vCPU / 1 GB RAM | 50K page views |
| Medium | 2 vCPU / 4 GB RAM | 2 vCPU / 4 GB RAM | 500K page views |
| Large | 4 vCPU / 8 GB RAM | 4 vCPU / 8 GB RAM + CDN | 2M+ page views |
Hosted Cloud servers are ideal for headless architecture. NVMe SSD disks and instant resource scaling deliver high performance for both WordPress backend and Next.js frontend. For WordPress staging environment setup, check our WordPress Staging guide.
⚠️ Important: If you're using ISR, the Next.js server must have disk write permissions. ISR won't work on read-only file systems (some container platforms). In such cases, prefer on-demand revalidation or SSR.
Frequently Asked Questions
Does headless WordPress negatively affect SEO?
No, quite the opposite. With Next.js SSG/ISR, pages are served as static HTML, making it easy for search engines to crawl content. Core Web Vitals scores improve significantly compared to traditional WordPress.
Do WordPress plugins work in headless mode?
Backend plugins (SEO, forms, e-commerce) work, but frontend-dependent plugins (sliders, page builders, theme plugins) do not. Plugins like Yoast SEO integrate with WPGraphQL to serve meta data through the API.
Should I use REST API or GraphQL?
GraphQL lets you fetch multiple resources in a single request and eliminates over-fetching. REST API comes built-in and is sufficient for simple projects. For projects with complex data relationships, prefer WPGraphQL.
Can WooCommerce be used with headless WordPress?
Yes, product listing, cart, and payment operations can be managed from the frontend using WooCommerce REST API and the WPGraphQL WooCommerce plugin. However, the checkout flow is complex and requires additional development.
What hosting is needed for headless WordPress?
You need a server with PHP and MySQL support for the WordPress backend, and a Node.js-capable server for the Next.js frontend. Both components can run on the same VPS. A minimum of 4 GB RAM is recommended.
Conclusion
Headless WordPress combines the power of content management with modern frontend technologies. WPGraphQL provides efficient data fetching, Next.js ISR delivers static performance, and on-demand revalidation enables instant updates. This architecture is a powerful solution for projects targeting high performance, requiring multi-platform support, and demanding custom UI designs.
Powerful Infrastructure for Your Headless WordPress Project
Run your WordPress backend and Next.js frontend with high performance on Hosted Cloud's NVMe SSD cloud servers.
Explore Cloud Server Plans →Can Kaya
Security Specialist
CISSP-certified security expert creating content on cybersecurity, DDoS protection, and server hardening.
Comments coming soon